What to Do When You Can't Find or Locate an eSIM on Your iPhone
Useful tips on how to identify a newly installed eSIM on iPhone

Installed an eSIM on an iPhone but can’t seem to locate it, or not sure which plan is which? This article summarizes the key points you should check in such situations.
*Note that it's assumed that the eSIM installation process was successfully completed without errors.
What to check when you can't identify your eSIM
If you can't find an eSIM that should be installed on your iPhone, it typically means one of the following two:
- The eSIM is still on your iPhone, but you can't identify which mobile plan it is
- The eSIM has already been deleted from your iPhone
If the eSIM has been deleted from your device, it's obviously impossible to locate it. Therefore, when removing eSIMs, you need to be extremely careful not to accidentally delete ones you still need.
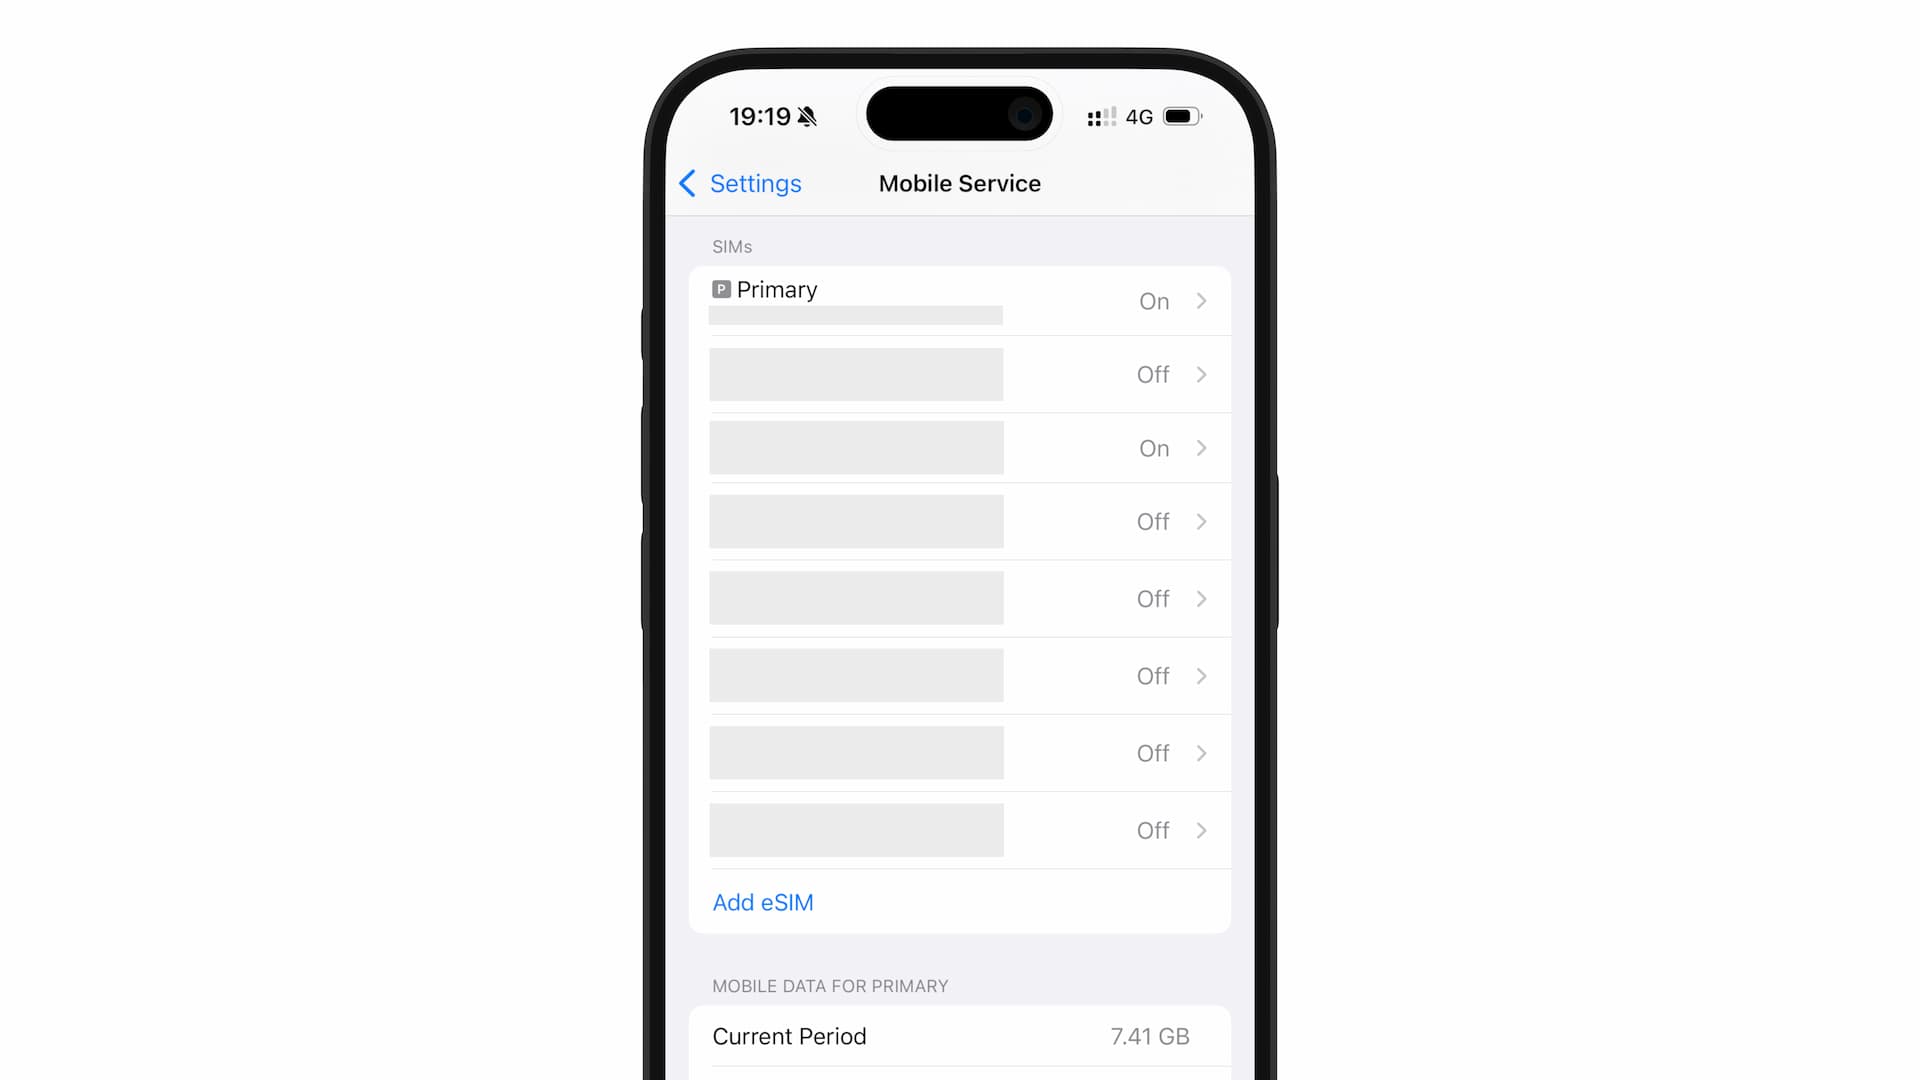
Assuming the eSIM is installed and hasn't been deleted, there's only one place you should be looking at which is the "SIMs" section under Mobile Service (or Cellular).

In the SIMs section, newly added eSIMs (lines) normally appear at the bottom of the list. So, first check the bottom-most line in the SIM section.
Once you've found a potential match for the eSIM you're looking for, you can usually verify it by checking:
- The displayed carrier name
- Its ICCID
The carrier name appears at the top when you tap on the eSIM.

While major carriers (telecom) usually match the displayed carrier name with the eSIM provider, this isn't always the case with travel eSIMs intended for temporary use abroad. In such cases, checking the ICCID is often the best bet.
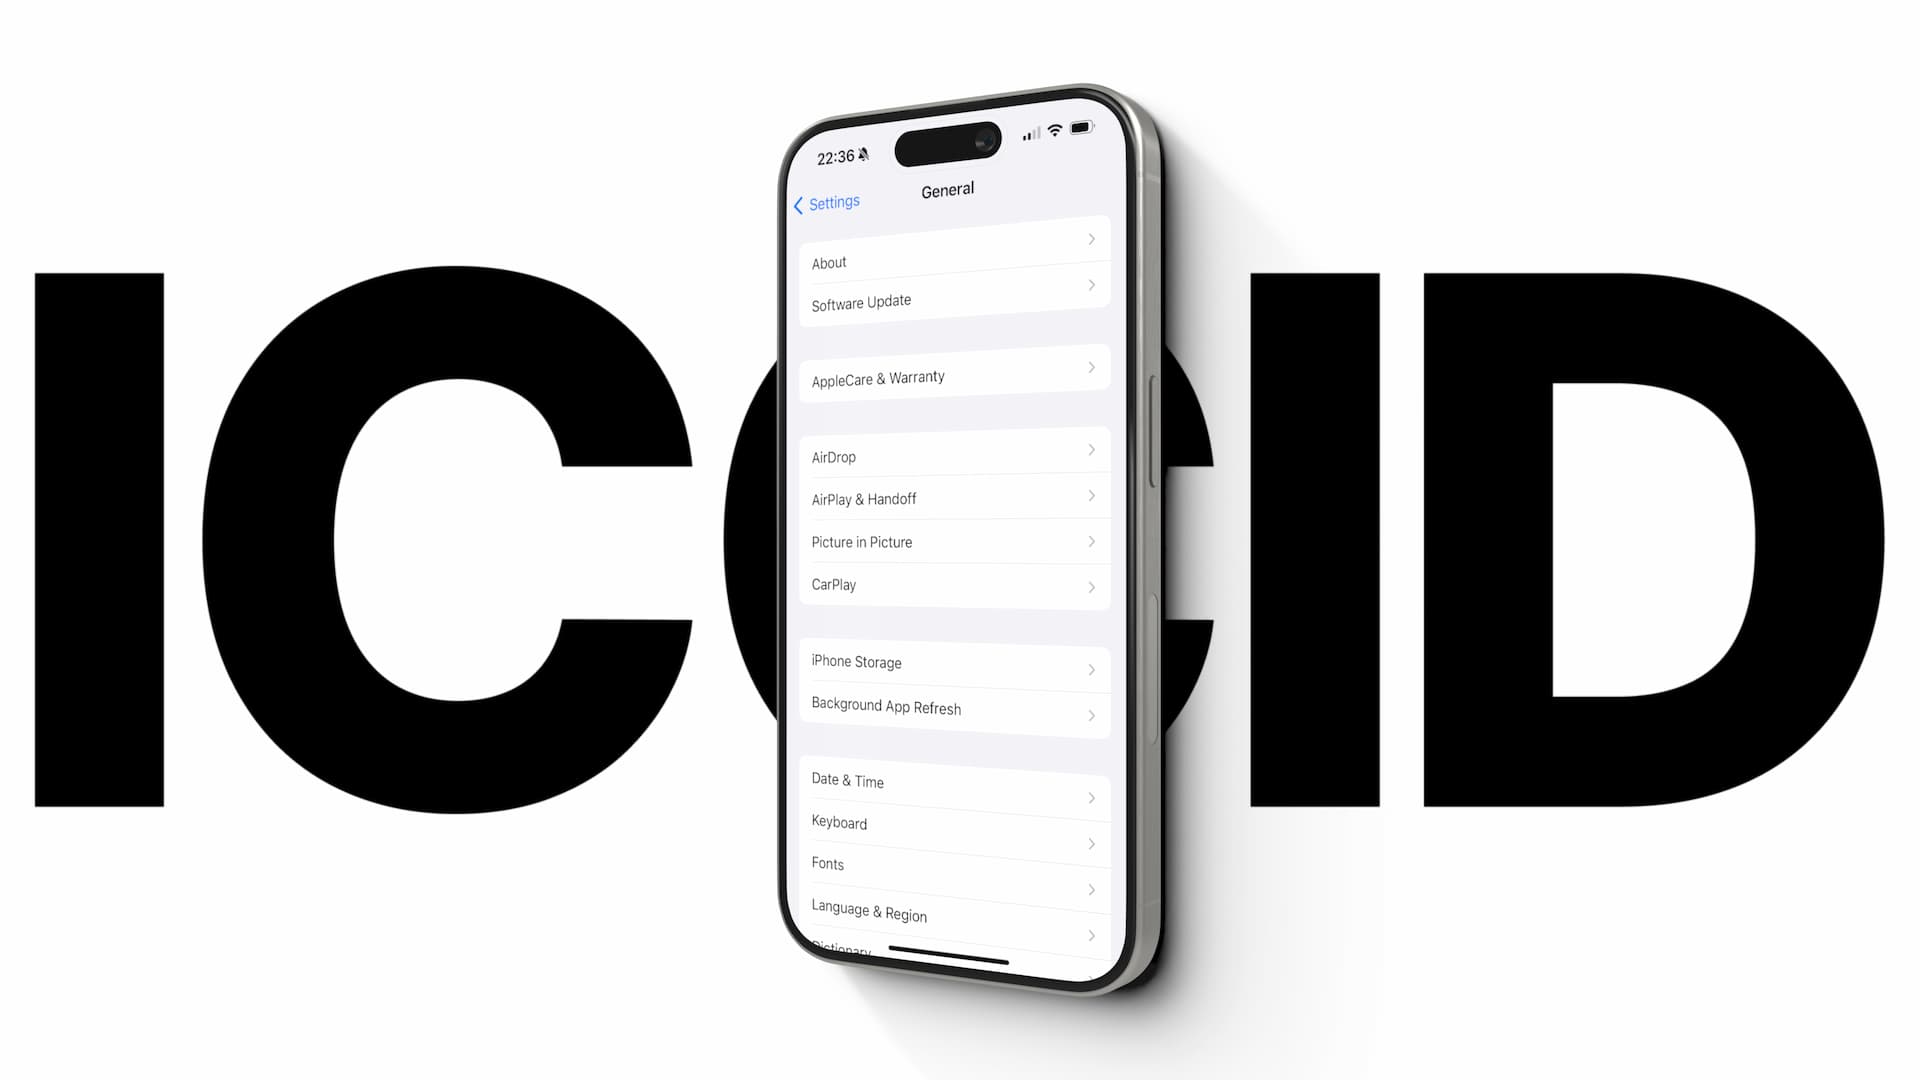
The ICCID is essentially the eSIM's ID = identifier. You can confirm the ICCID in your iPhone’s Settings > General > About screen. Just make sure the eSIM (the potential match) is turned on before you look for it.
For more details on ICCID checking, please check the article below.

Always set a "Custom Label" when adding an eSIM
To prevent confusion about which eSIM is which, it's highly recommended that you name your eSIM as soon as you add (install) it.
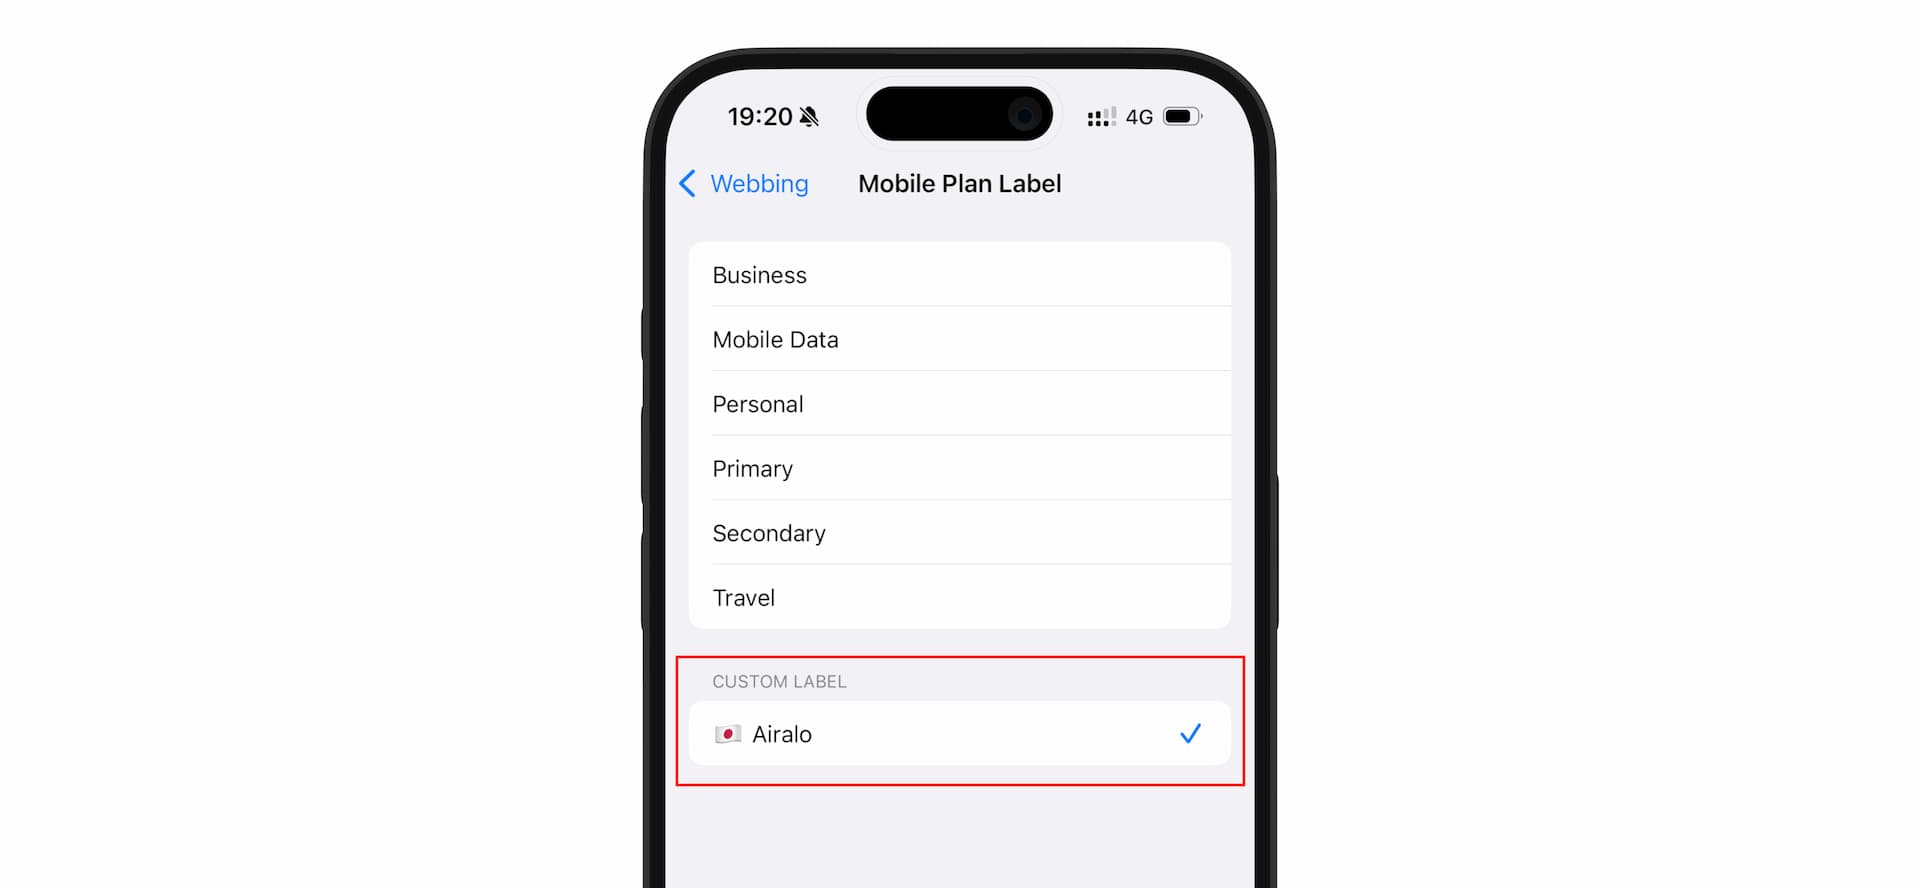
It's called Custom Label, and you can easily set / edit it through the "Mobile Plan Label" section in Settings.

While you can use preset labels like "Secondary" or "Travel," using a custom label to be more specific would probably be better in general.
As you start adding multiple travel eSIMs, it becomes increasingly likely that you'll lose track of which is which, so make labeling your eSIMs a habit.


