
![How To Buy Travel eSIM on eSIMX [w/ Promo Code]](/blog/content/images/size/w1200/2024/06/Getting-started-with-eSIMX-cover-image.jpg)
In this article, we will guide you through the process of purchasing and installing a prepaid eSIM from "eSIMX", with screenshots and helpful images.
When you buy their eSIM, you can either create an account (for free) or purchase as a guest. If you choose to create an account, you will receive a 10% cashback as a reward balance that can be used for future purchases. So, if you don’t mind the extra step, creating an account is more beneficial. It won't take more than a minute.
For details on the plans and prices of travel eSIM available on eSIMX, please refer to their official website below.
Creating an eSIMX Account
As mentioned earlier, creating an account is optional. However, if you want to receive a 10% cashback, you'll need one, and it's best to create it first. While you can create an account after selecting an item and adding it to your cart, it's more efficient to do so initially as the cart might be emptied during the process.
*If you prefer to purchase as a guest, you can skip this section.
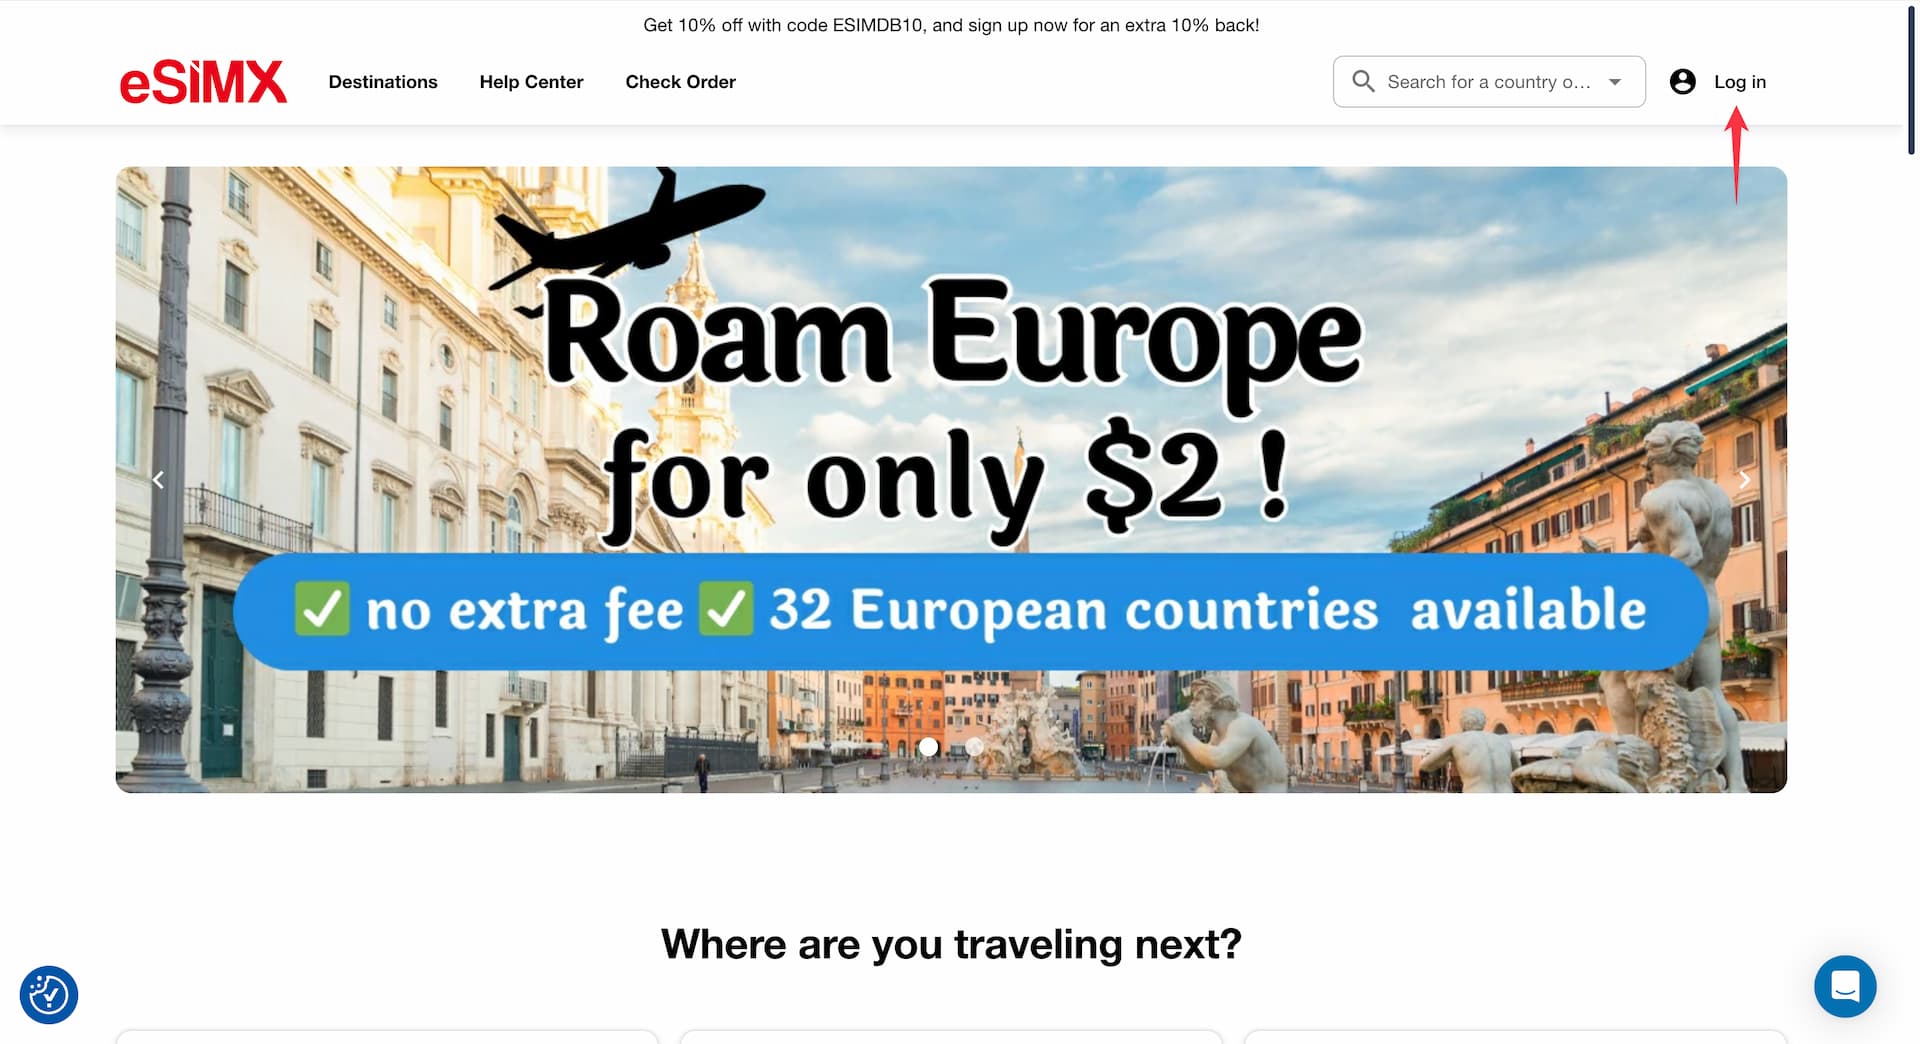
First, access the eSIMX official website on your browser and click on "Log in" located at the top right corner.
A sign-up form will appear (make sure to switch the tab to "Sign Up") where you need to enter your first name, last name (optional), email address, and password.
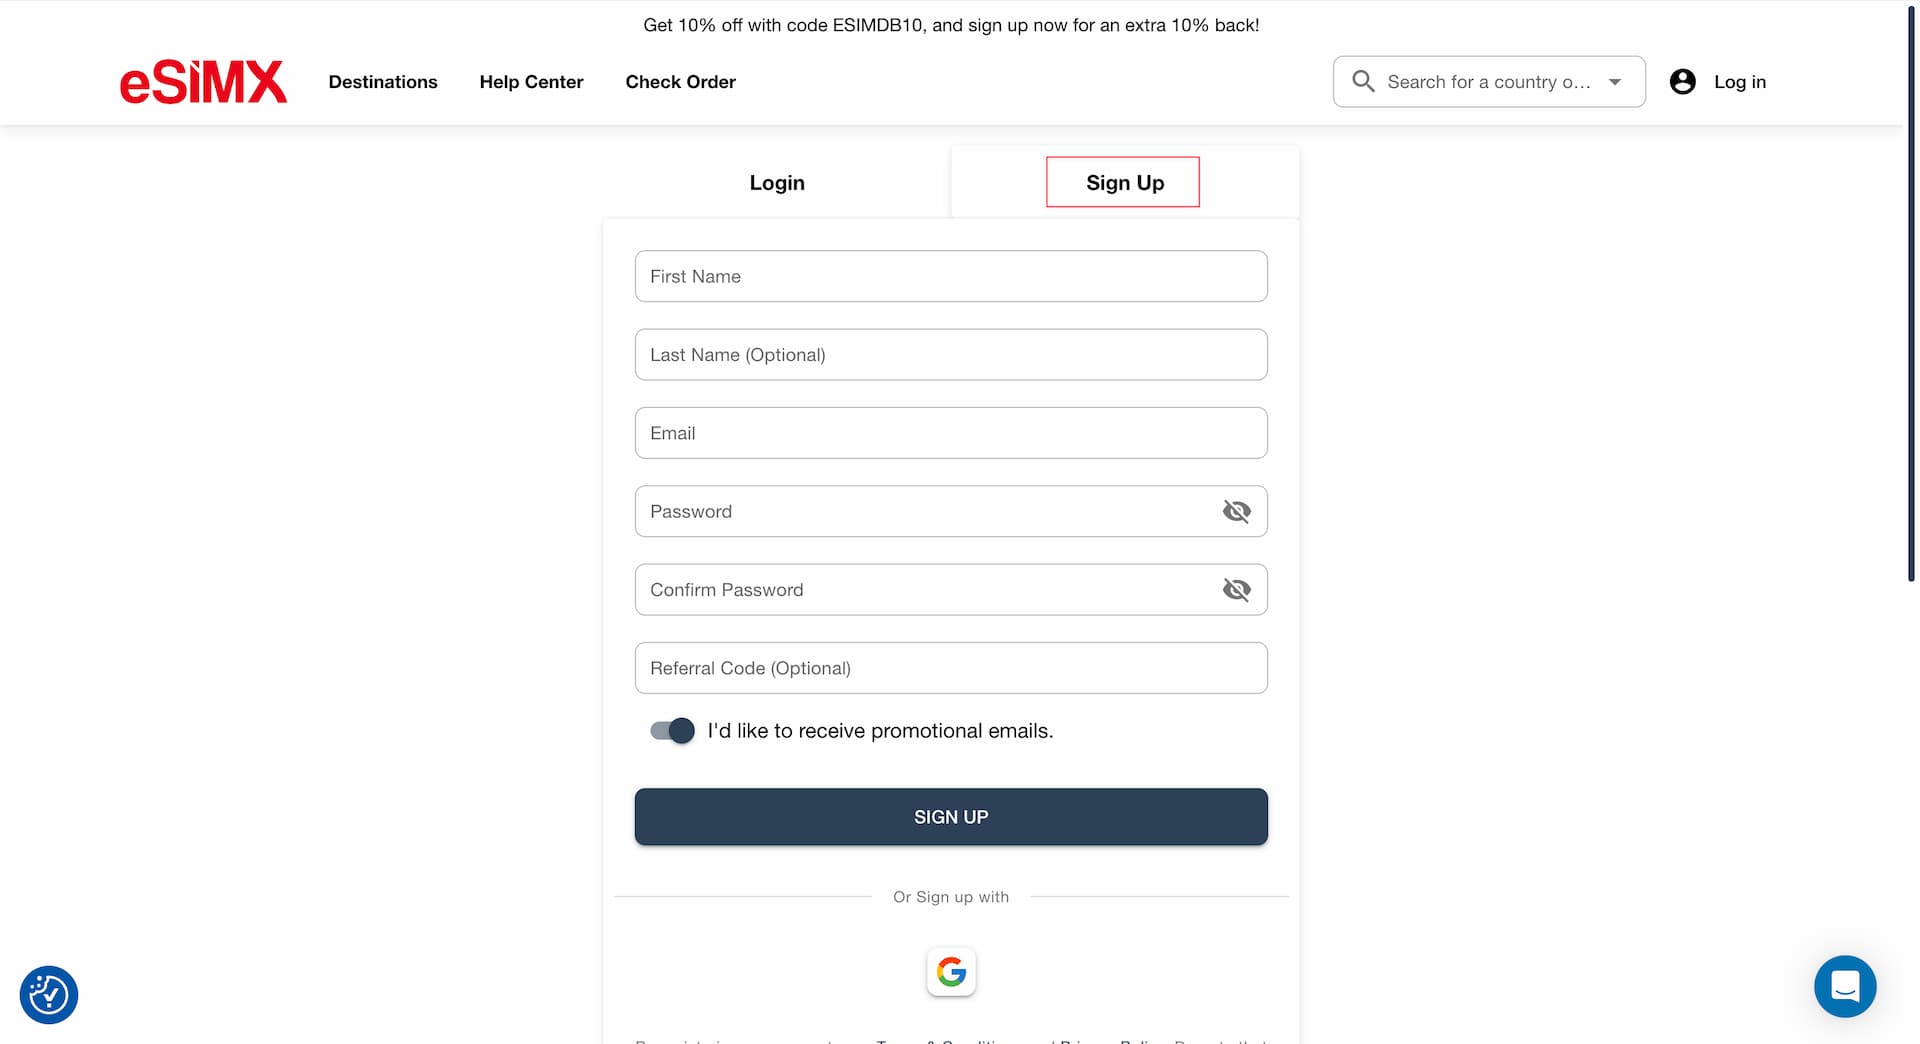
*You can also sign up using a Google account if easier.
Click the Sign Up button, and a verification / activation email will be sent to you.
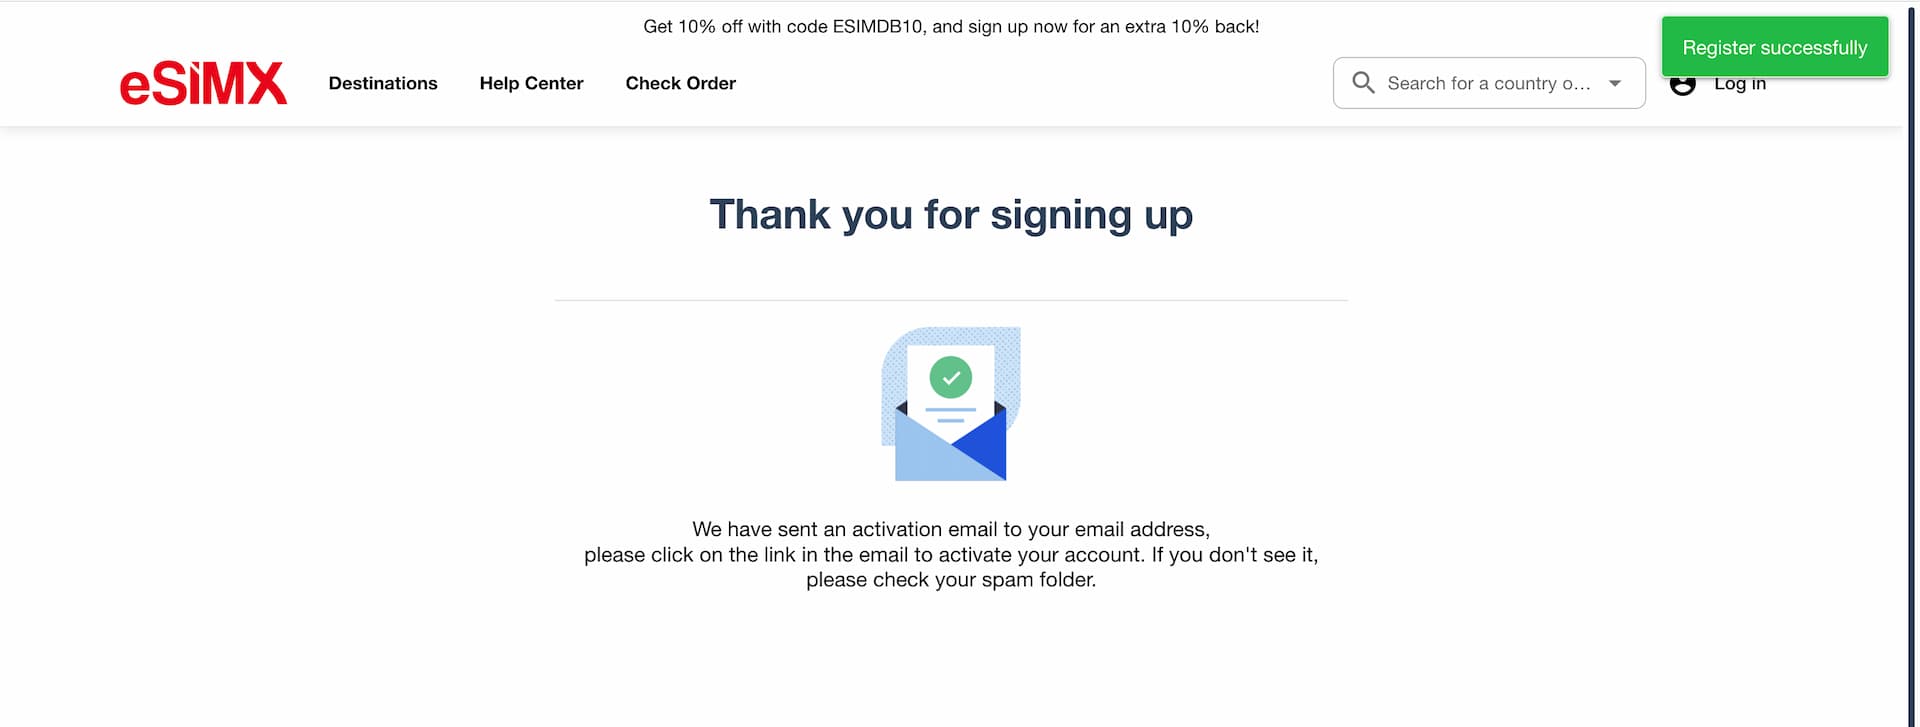
Check your inbox, and click the link in the email to complete the sign-up process.
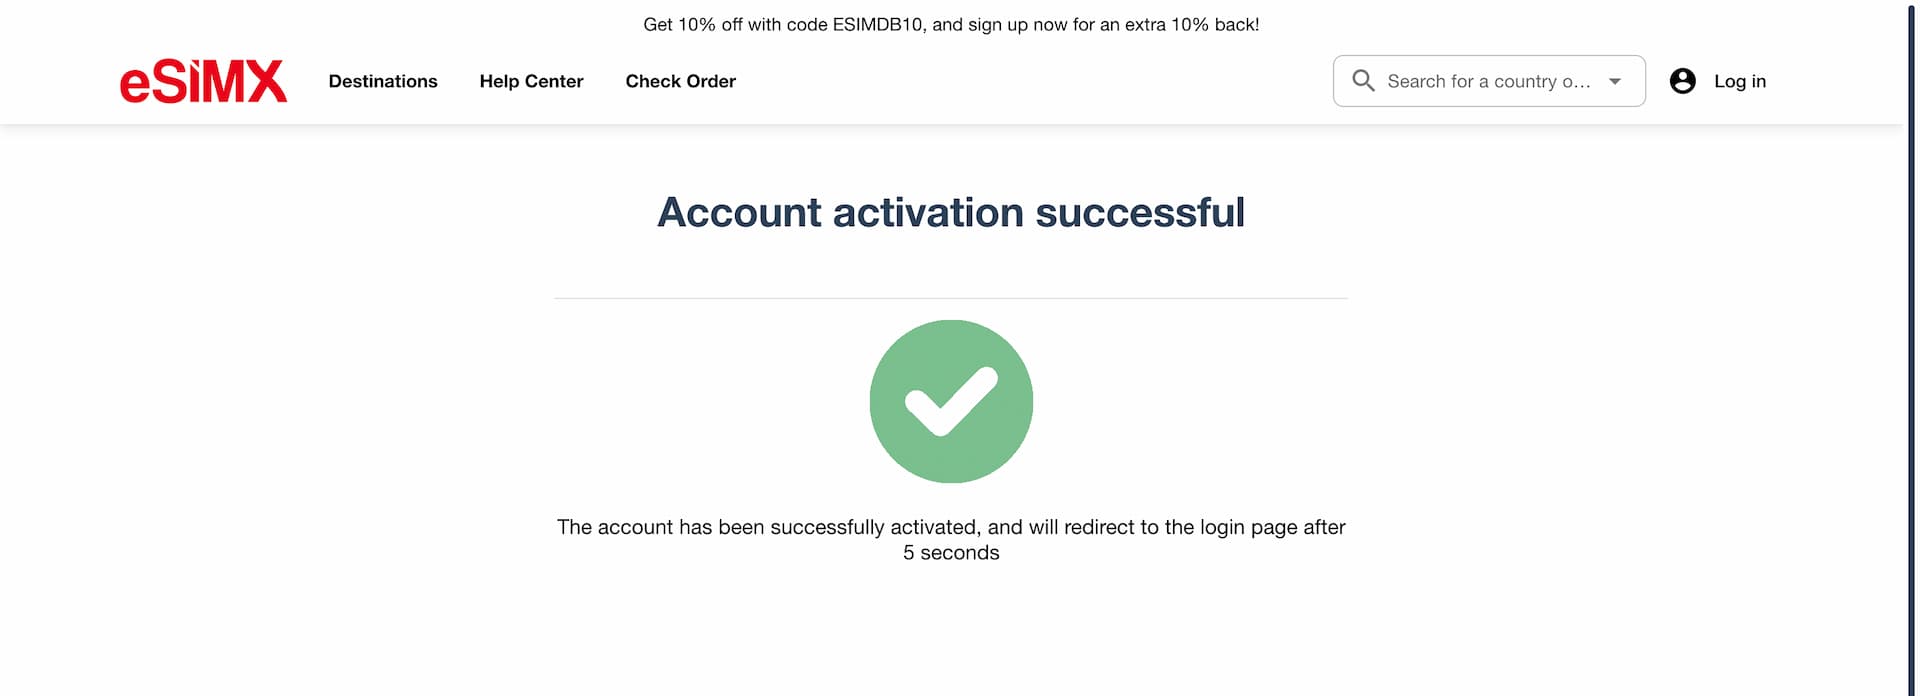
Now your account has been created and activated.
From there, click the "Log in" button again and log in to your account with the email address and password you set up.
Purchasing an eSIM
Let's get into the actual steps to purchase an eSIM while logged in.
*The process is pretty much the same if you are purchasing as a guest without creating an account.
First, navigate to the country or region you will be traveling to. For this guide, we will use Taiwan as the destination and buy one of their eSIMs for Taiwan.
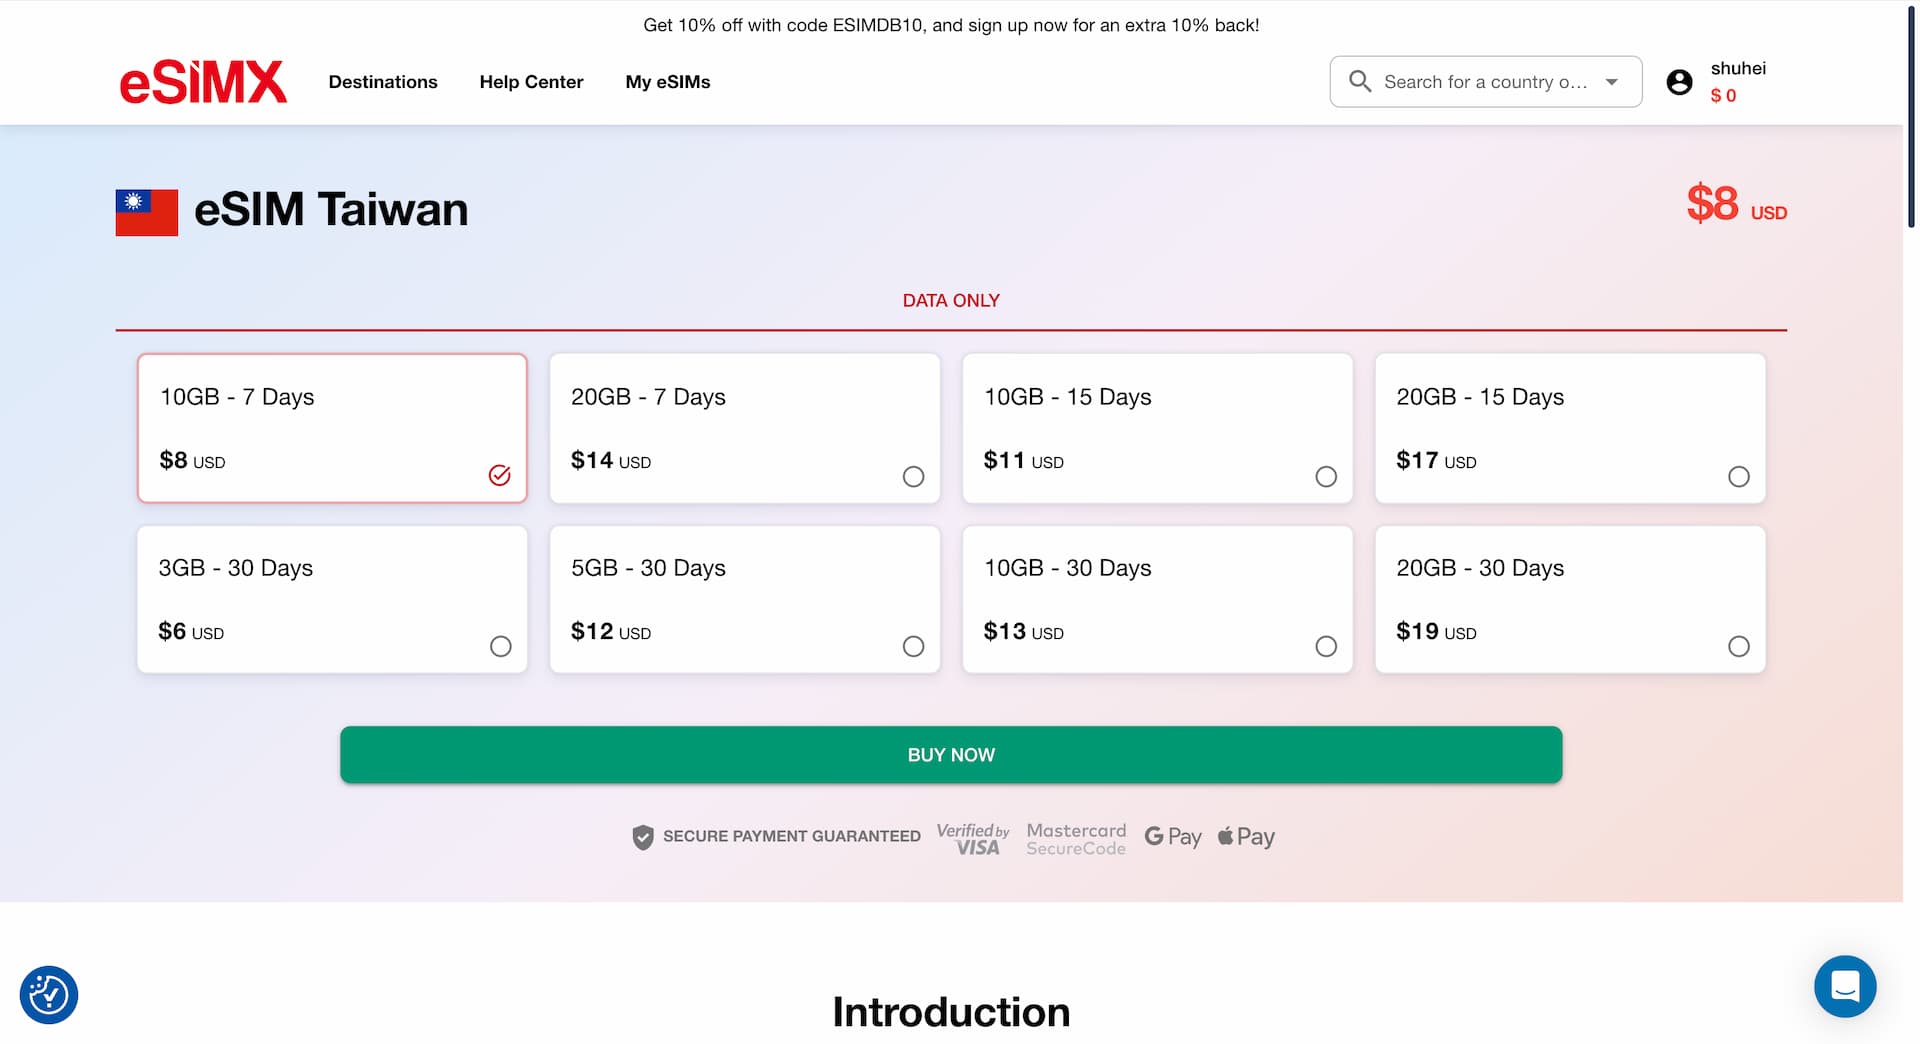
Select the plan you wish to purchase from the available options, and click "Buy Now."
This will take you to the checkout page.
On the left side of this page, you can apply a discount code. Using the code "ESIMDB10" will give you a 10% discount.

At the top right of the checkout page, you'll find an option for "Express Checkout," which shows Google Pay on Chrome and Apple Pay on Safari (depending on your settings, this may not appear).
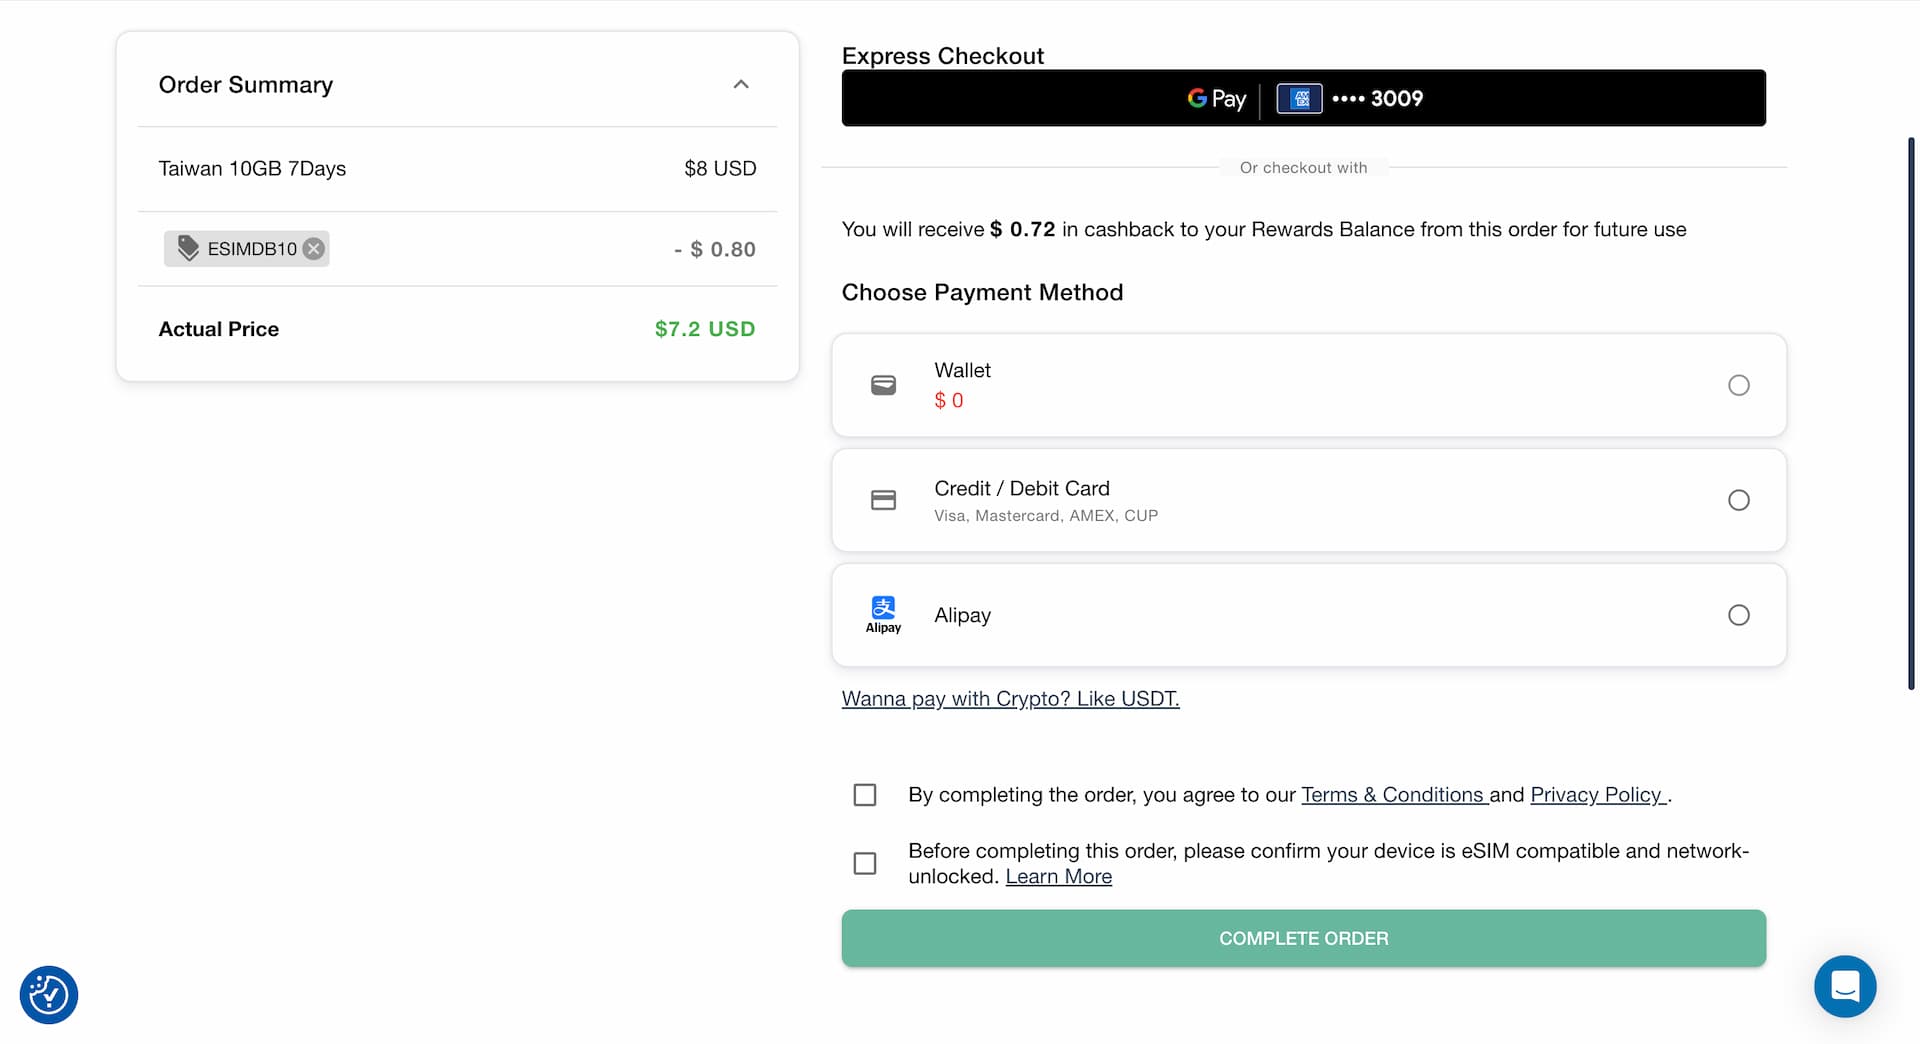
Below that, in the "Choose Payment Method" section, you can choose either
- Credit / Debit Card
- Alipay
If you select Credit / Debit Card, a standard card details form will appear. Enter your card details here and press "Add" to set it for the payment method.
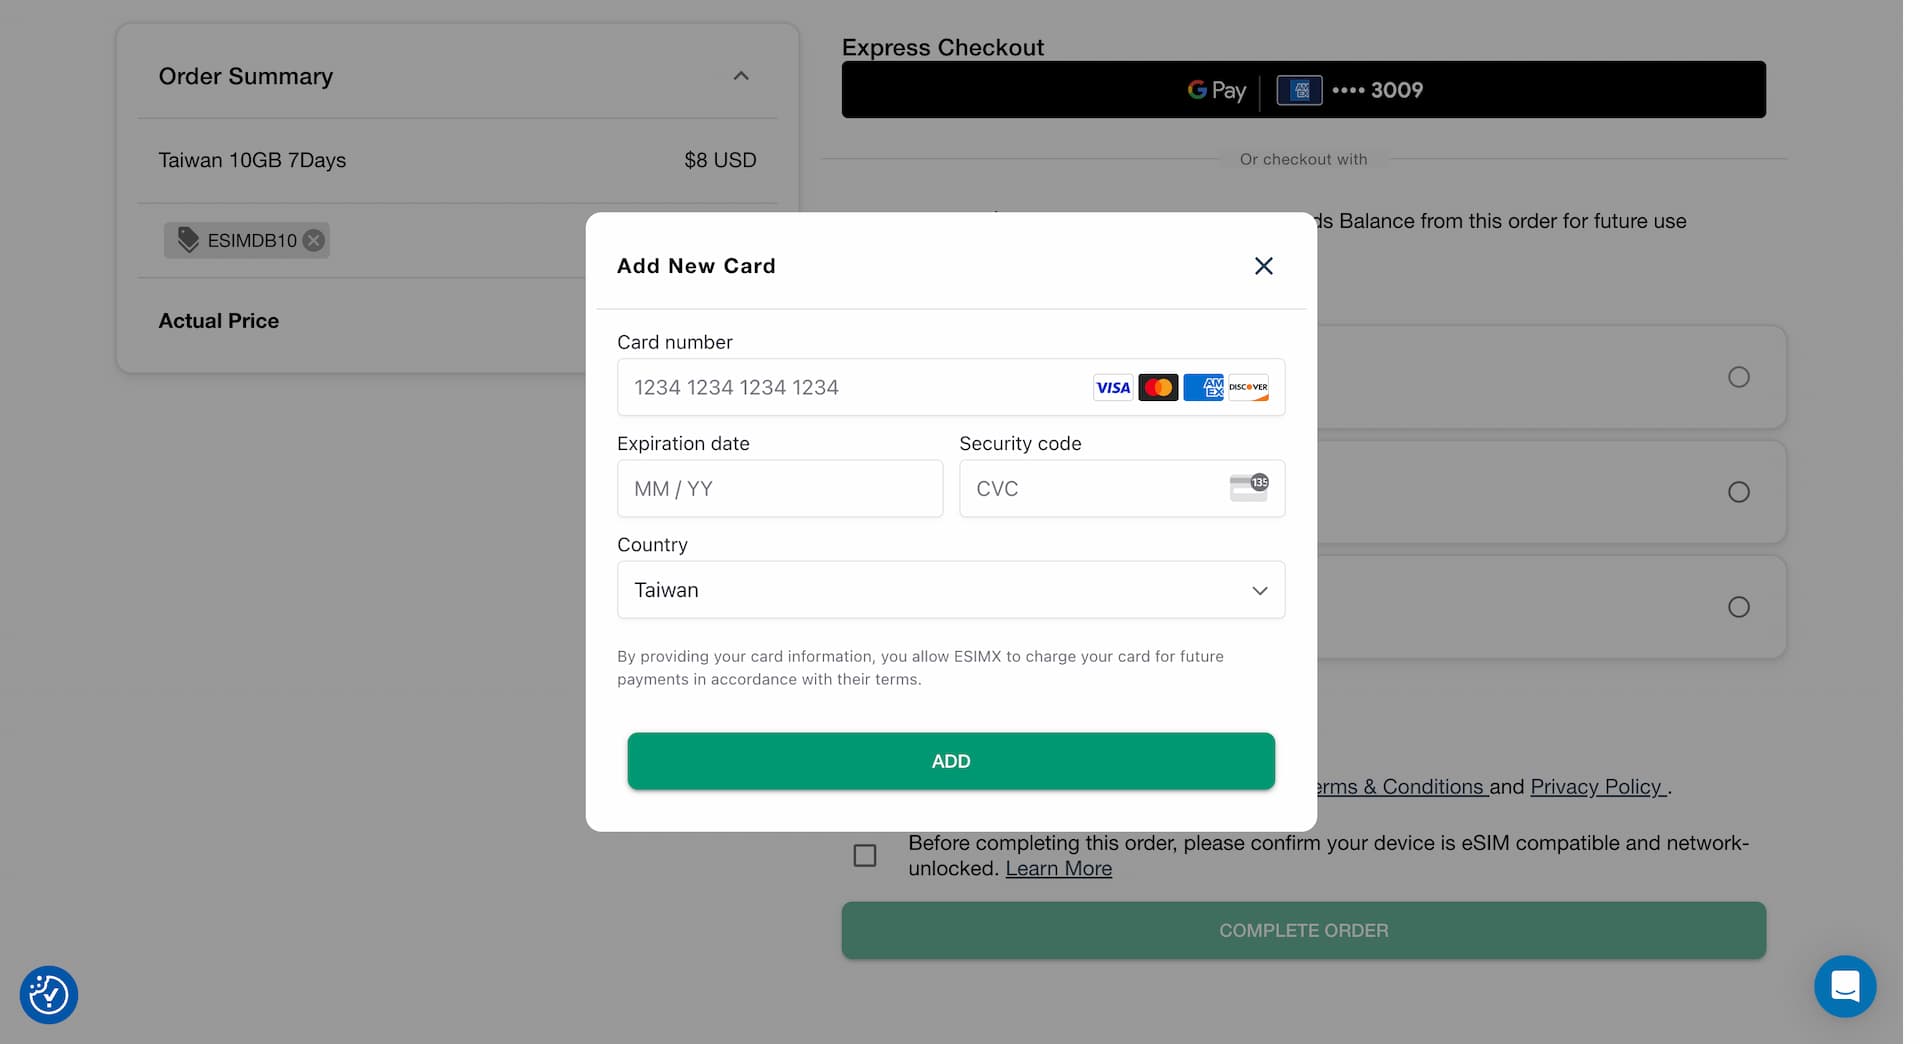
If everything looks good, hit "Complete Order".
Once the payment is successfully processed, your eSIM purchase is complete.
You will see your order summary on the order confirmation page, and you will also receive an email from eSIMX.
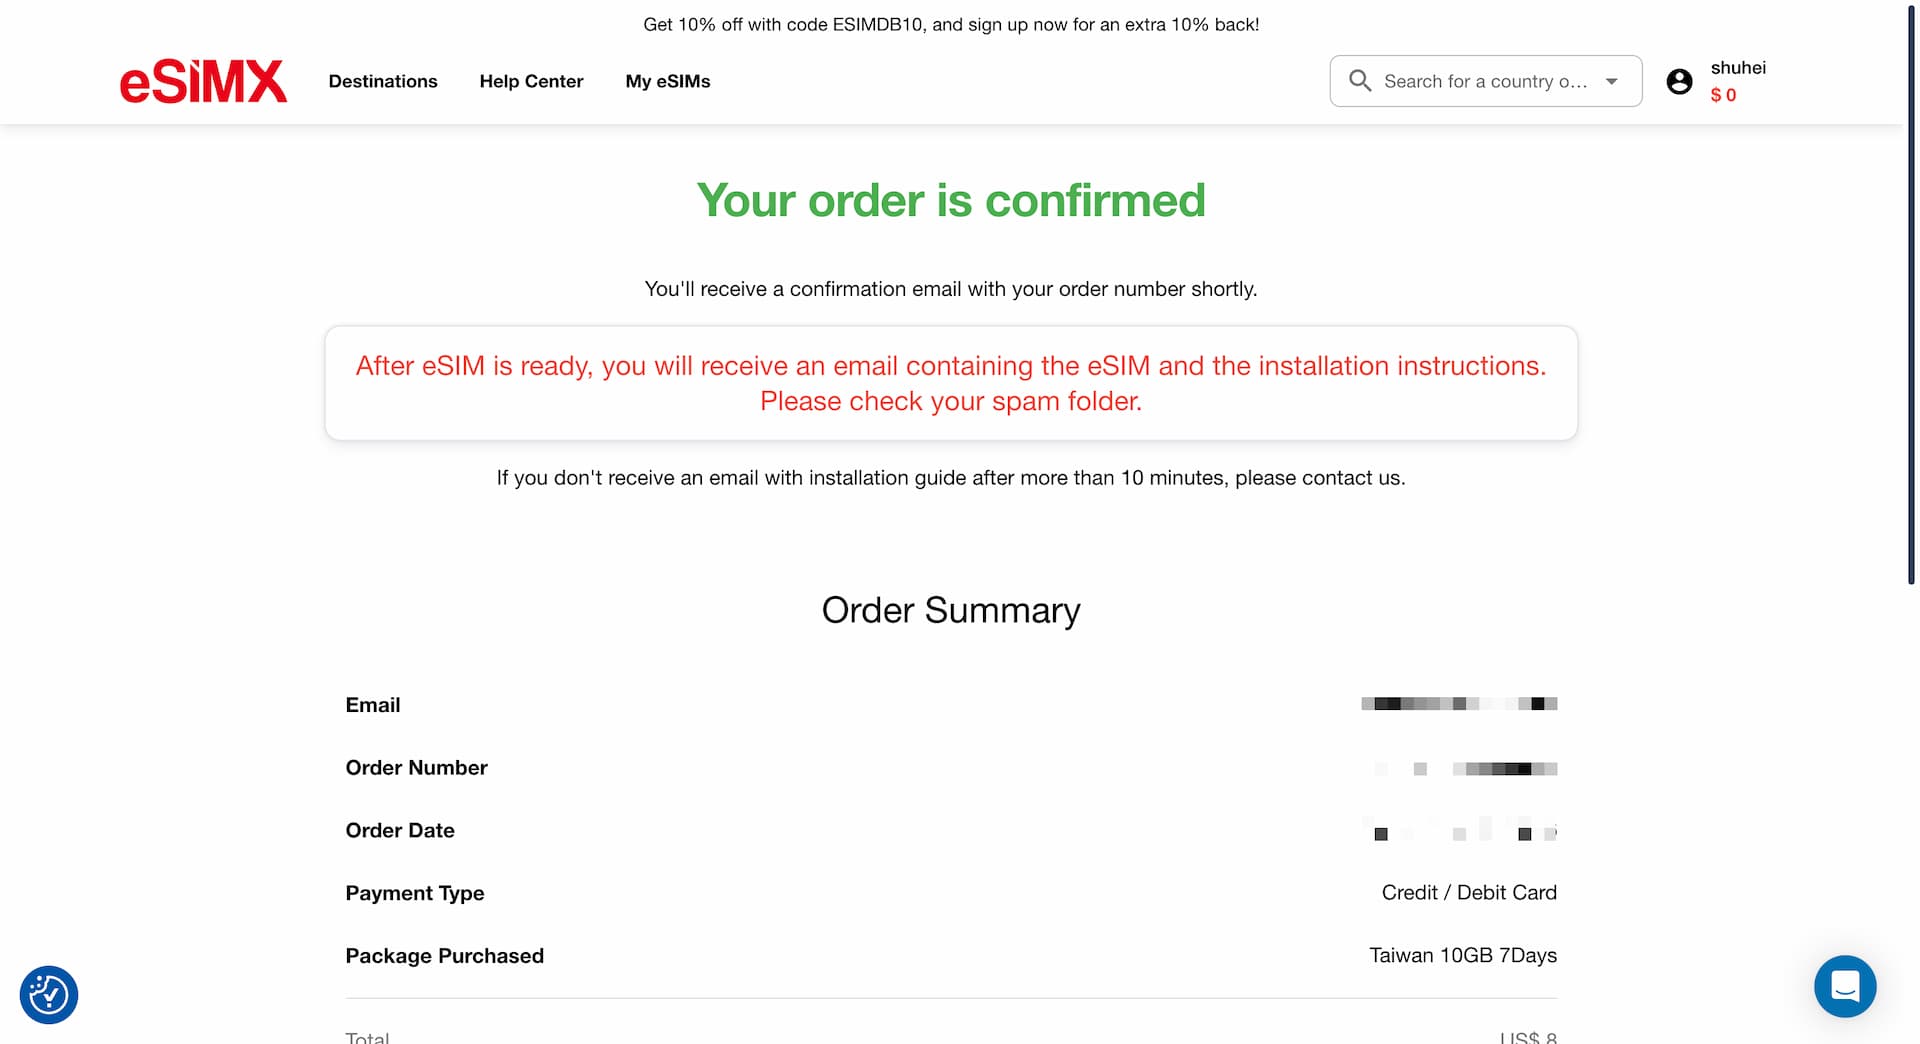
Although it's not visible in the screenshot above, $0.72 which is 10% of the purchase amount was added to the account balance as a reward (under wallet).
Now that the eSIM purchase process is completed, the next step is to install the eSIM using QR code.
Installing eSIM
The QR code required to add / activate the eSIM will be sent via email, and if you created an account, you can also find it on the "My eSIM" page on eSIMX website.
For those who are not familiar with eSIM installation, step-by-step instructions on how to add an eSIM using a QR code on both iPhone and Android can be found in separate articles below.
 shuhei
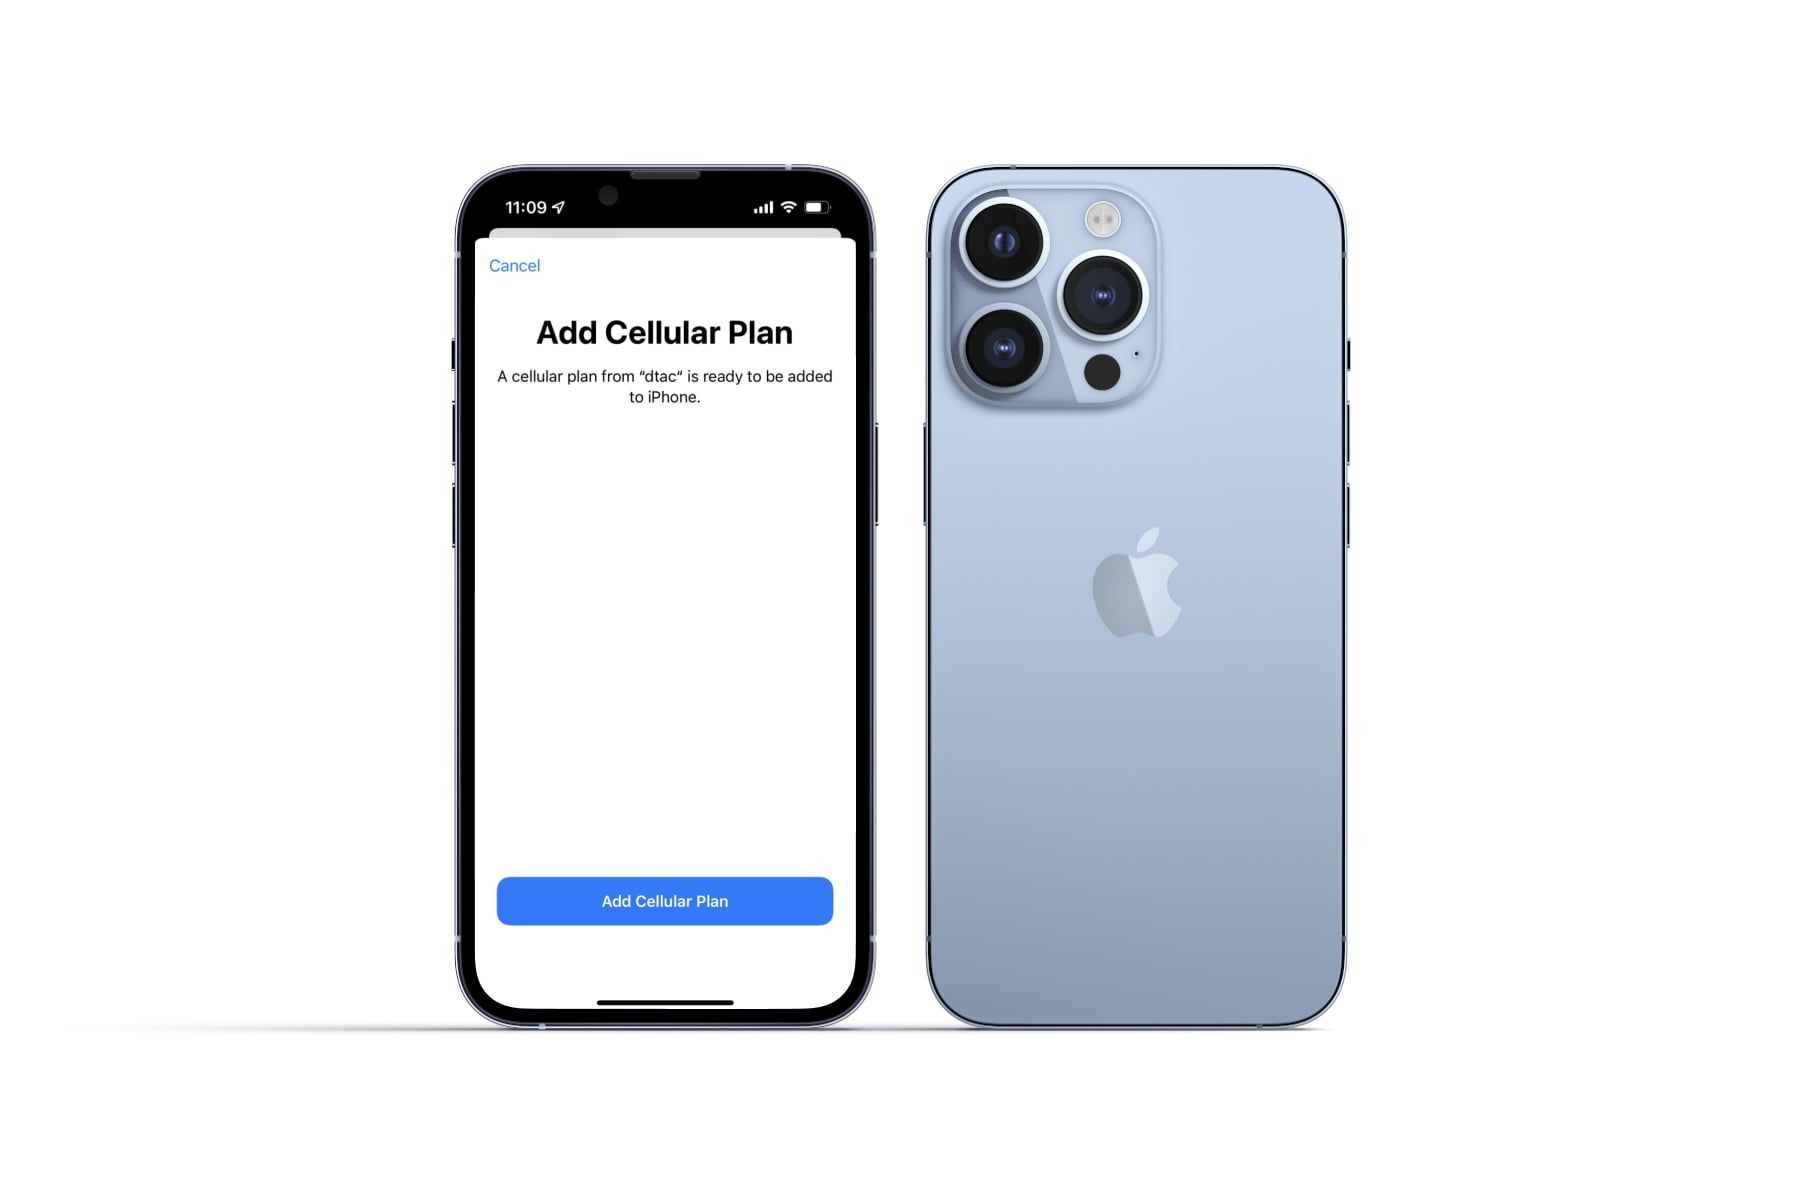 shuhei
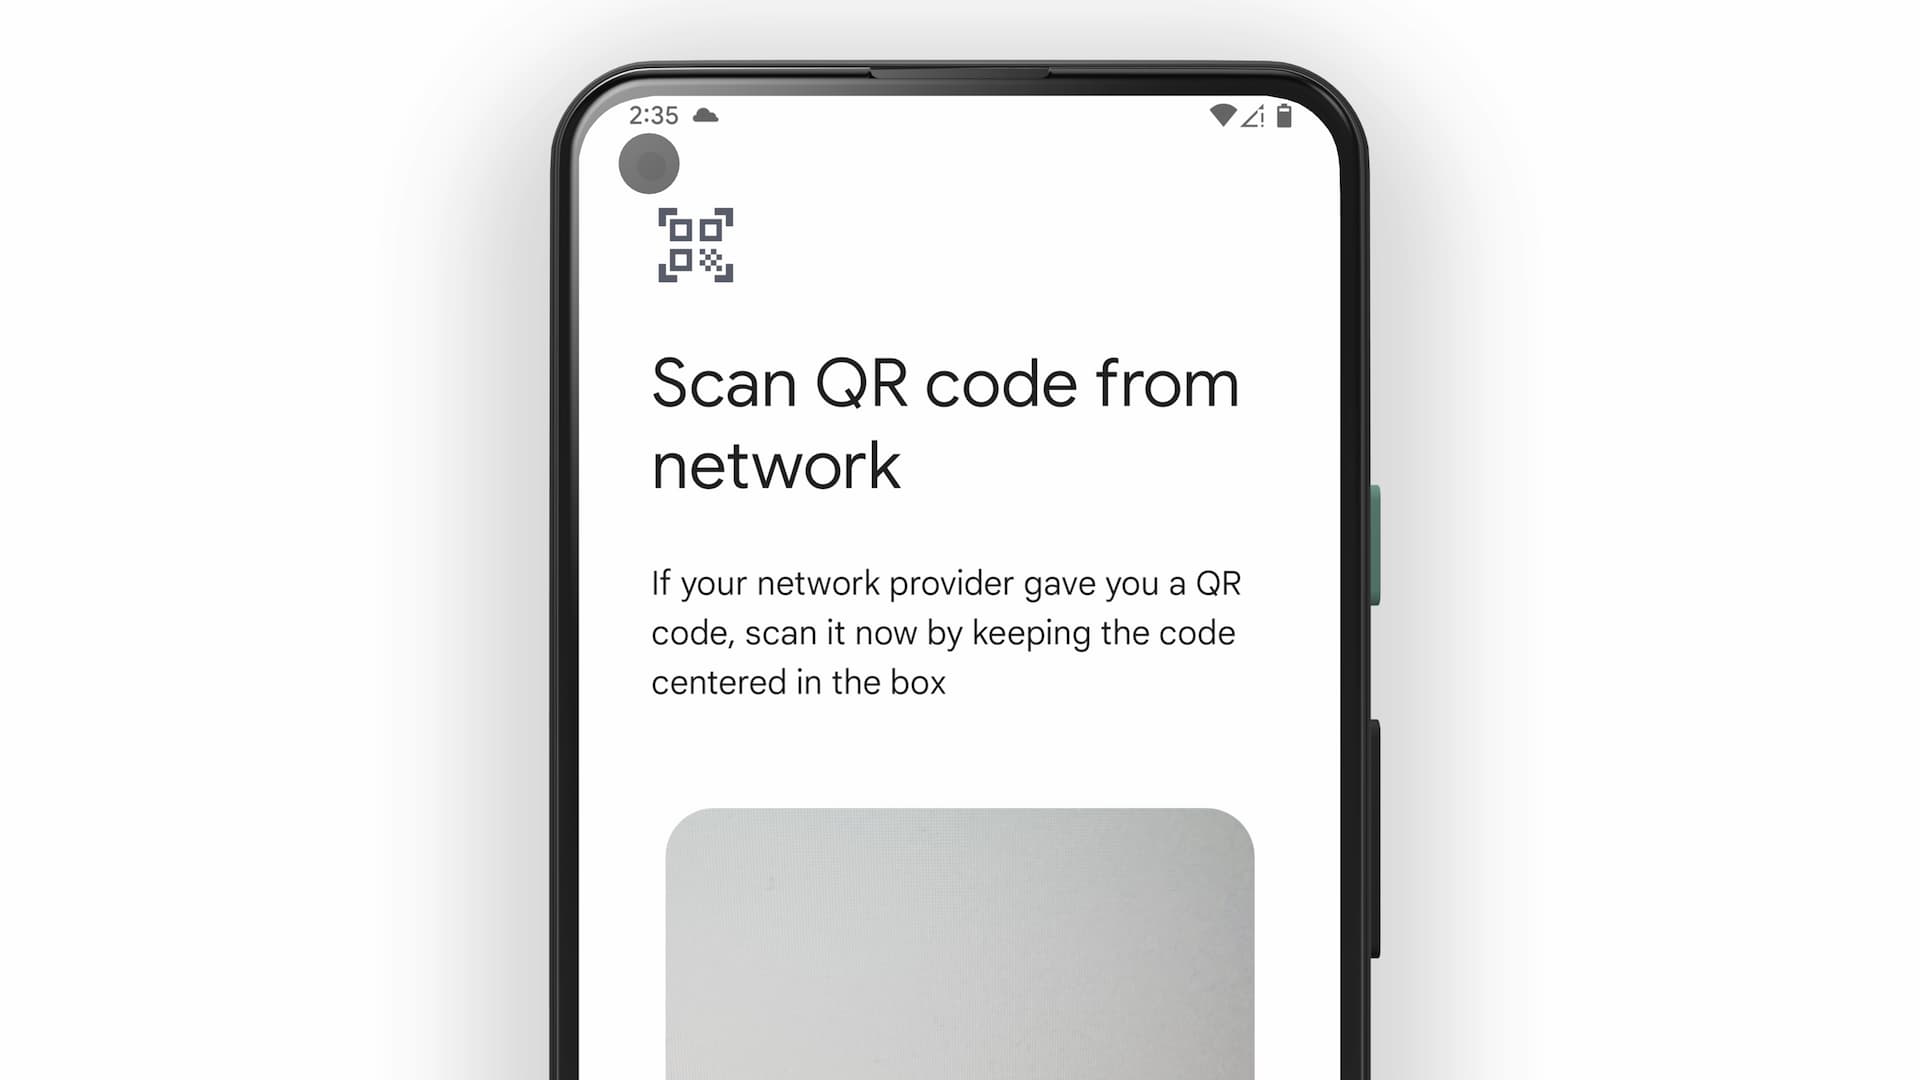
Checking QR Code from Email
Shortly after completing your purchase, you will receive an email with the subject "Your eSIM is ready!" from eSIMX which contains the QR code.
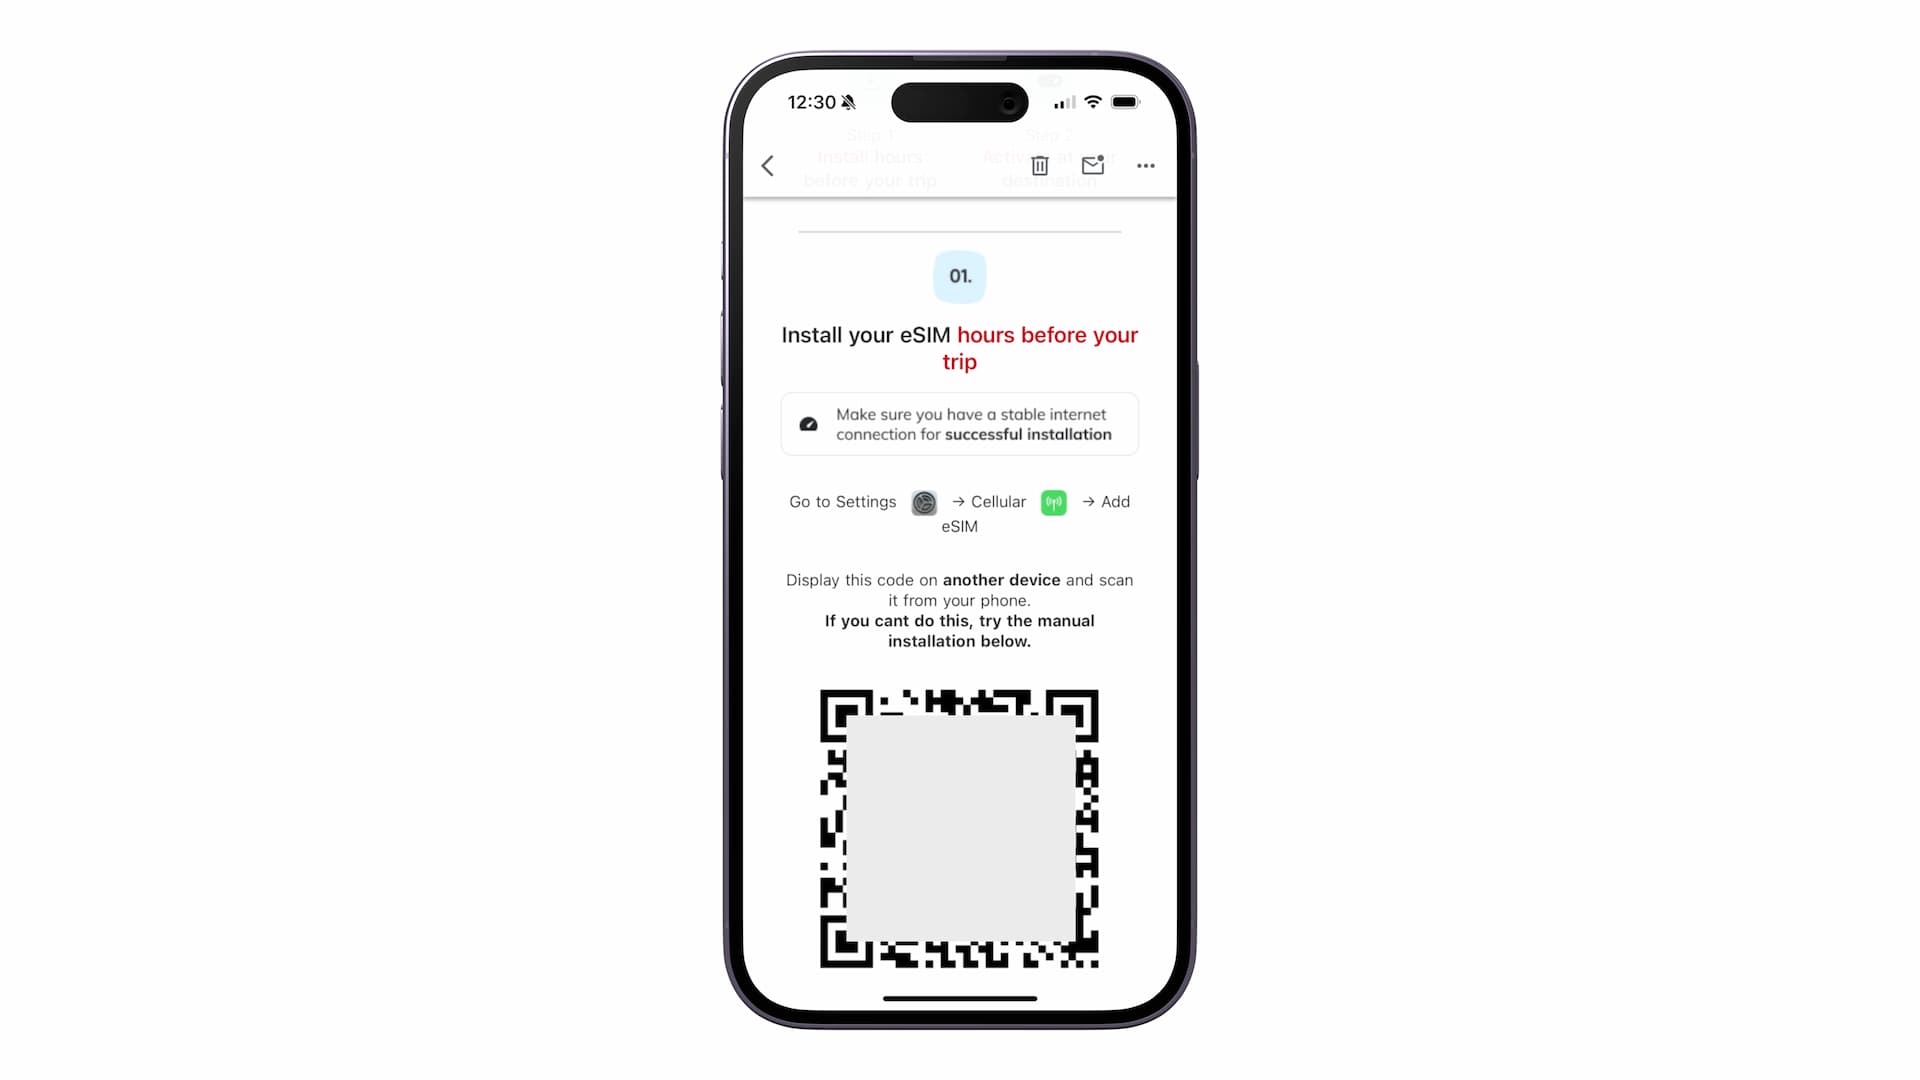
This email also includes important notes and information regarding the use of the eSIM, so make sure to read it through.
Checking QR Code on My eSIM Page
Open the eSIMX official website, log in to your account, and open the My eSIMs page.
Select the eSIM for which you want to view the QR code.
On the details page of the eSIM, you will find the eSIM and data plan details.
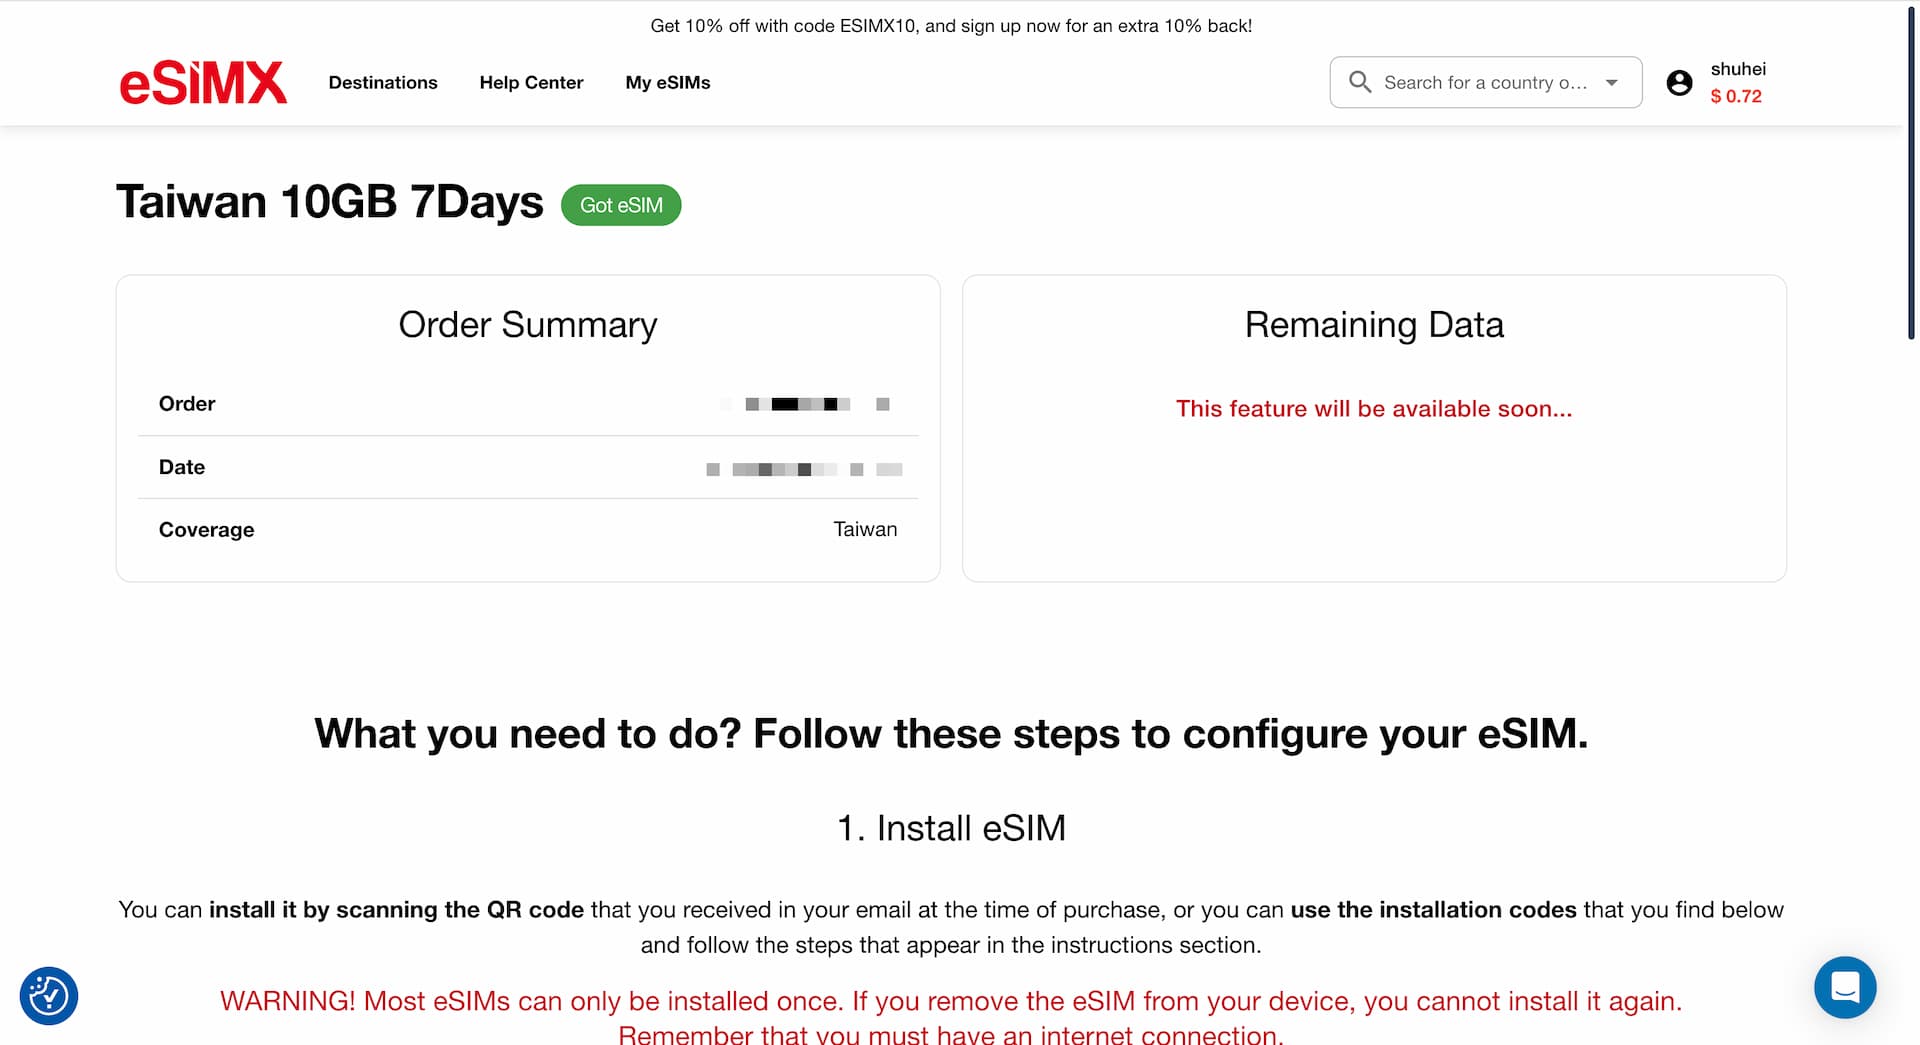
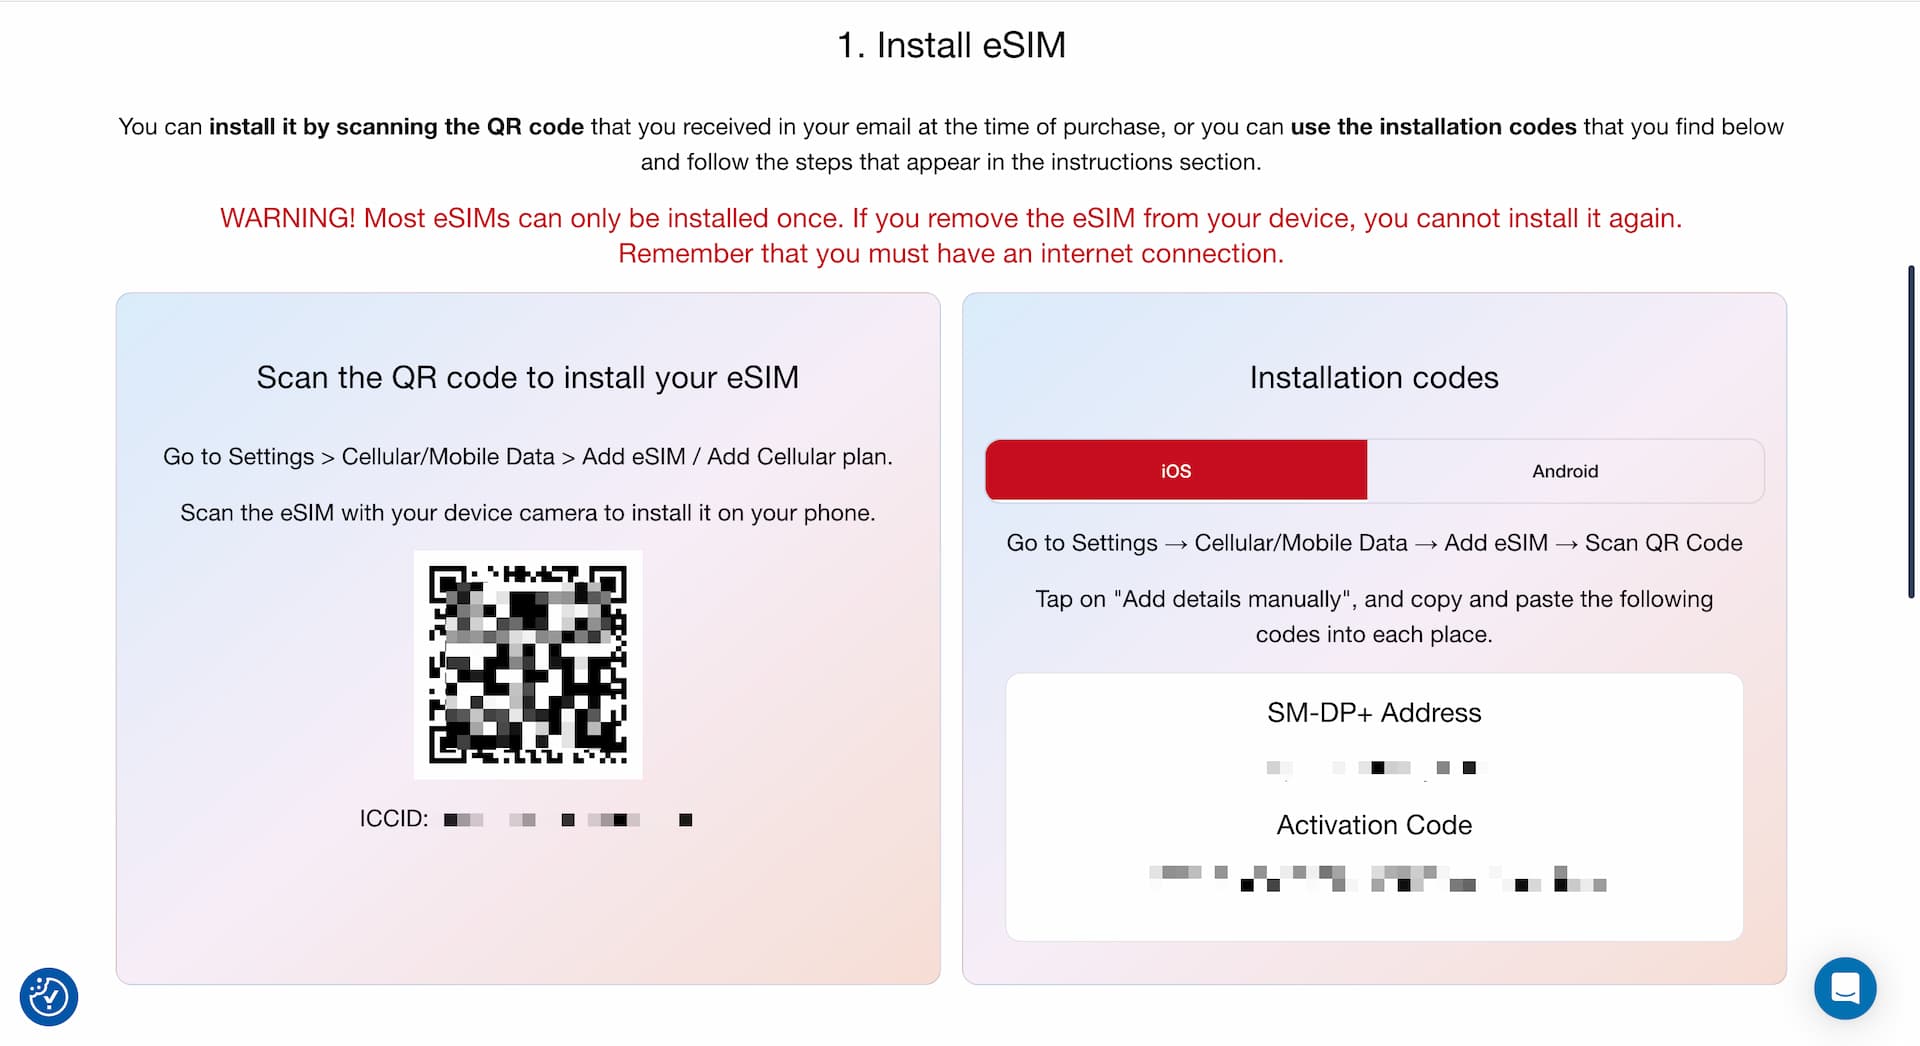
Scroll down to find the "Install eSIM" section, where you will find the QR code as well as the codes for manual installation.
My eSIMs is also handy for checking remaining data and plan validity, so it's good to be familiar with it.